

I used to feel like that raised breakfast bar was cutting my kitchen in half. It blocked light, made the space feel smaller, and honestly, it just didn’t work for how we live day to day. So I decided to lower it to counter height, and I’m so glad I did.
In this guide, I’ll walk you through the exact steps I took, with before-and-after photos, the tools I used, and a printable checklist to keep things simple. I’ve also included cost-saving tips and a few design ideas that helped me finish the space in a way that actually works for us.
If you’re thinking about doing the same, this guide will help you understand what’s involved, how long it might take, and what kind of difference it can really make. It’s doable and totally worth it.
Should You Lower Your Raised Breakfast Bar?
Lowering a raised breakfast bar is a popular update—and for good reason. That extra ledge can break up the space, block natural light, and make your kitchen feel closed off.
By bringing it down to counter height, you get one smooth surface that’s easier to use for cooking, eating, or even working. It can also help the kitchen feel larger and more open, especially in small or open-layout homes.
But before making the change, it’s worth thinking through a few things. A raised bar does create a small visual boundary between the kitchen and the next room, which some people like. It can also help hide any kitchen mess from view when you’re entertaining.
If you often use the raised ledge for quick drop-offs, drinks, or serving snacks, losing that height might be a noticeable change.
Choosing the Right Countertop
If you’re lowering the breakfast bar, it’s a good chance to think about a new countertop. Some of the most common options are quartz, butcher block, and laminate.
Each one works well in different ways depending on how you cook, clean, or use your space day to day. If you’re adding stools, check how much of the surface needs to hang over the edge for comfort.
You’ll also want to decide if you prefer straight lines or rounded corners to match the rest of your kitchen. Keep it simple, useful, and easy to clean.
How to Lower a Breakfast Bar: A Step-by-Step Guide
Taking on a kitchen project can feel like a lot at first, but breaking it down into clear steps helps. This section walks you through the process in a way that’s easy to follow, even if you haven’t done this kind of work before.
Tools and Materials You’ll Need
Here’s a short list to help you plan:
- Circular saw or hand saw
- Reciprocating saw (or pry bar and hammer)
- Utility knife
- Tape measure
- Screwdriver or drill
- Drywall and screws
- Joint compound and sanding block
- Paint and brushes
- Gloves, a dust mask, and eye protection
If you’re new to tools, consider renting or borrowing them instead of buying everything.
Step-by-Step Instructions for a Lowered Breakfast Bar
Now that you’ve got your tools and workspace prepped, it’s time to move on to the main task. Lowering a raised breakfast bar may seem tricky, but breaking it down into simple steps makes it easier to manage.
Step 1: Prepare the Area

Start by clearing off everything on and around the breakfast bar. Move items like stools, appliances, or decor so they don’t get in the way or get damaged. If there are electrical outlets nearby, turn off the power at the breaker.
This keeps things safe while you work. Cover your floor with drop cloths or cardboard to avoid scratches or mess from falling debris. Having a clean, open space makes the process smoother from the start.
Step 2: Remove the Existing Countertop
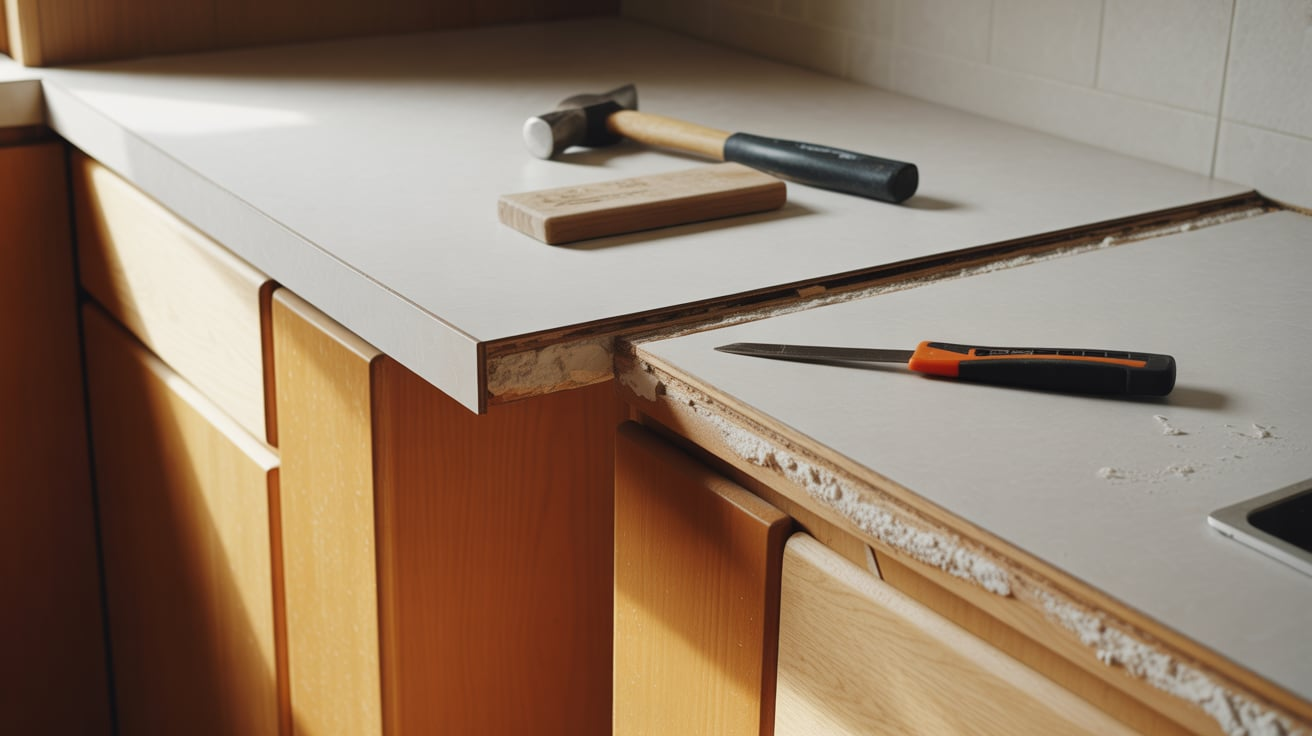
Use a utility knife to cut along the edges where the countertop meets the wall or cabinets. This helps break any seal created by silicone or caulk.
For a solid surface like Corian or laminate, gently tap from underneath using a hammer and a block of wood. Work slowly and apply even pressure to avoid breaking or bending the surface.
If you’re lucky, the top will lift off in one piece. Set it aside if you plan to reuse it.
Step 3: Take Off the Tile and Drywall
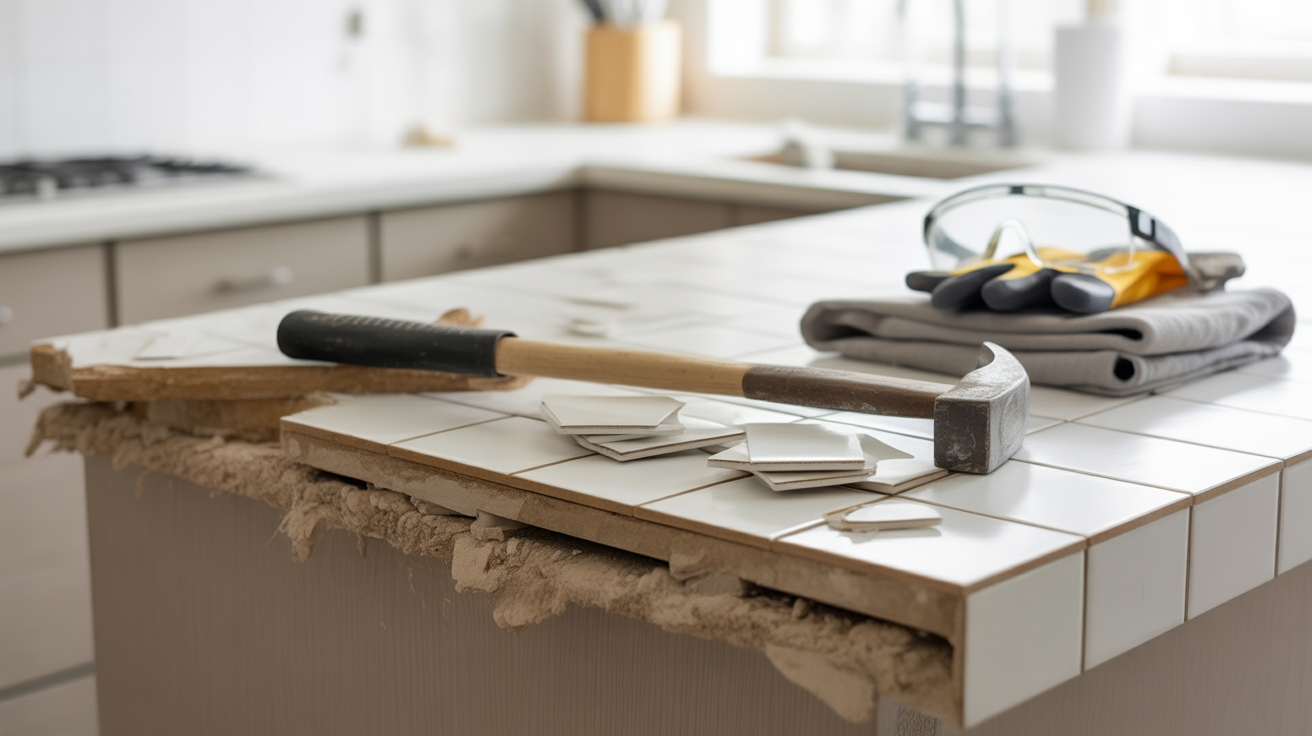
Use a flat pry tool or hammer to loosen any tile that’s installed under the bar or on the wall. Wear gloves and eye protection since tile edges can be sharp.
After the tile is off, cut the drywall into smaller sections using a drywall saw or hand saw. This makes it easier to pull out each piece without damaging the studs. If your trim or framing is still in good shape, save it for later so you won’t need to buy new pieces.
Step 4: Cut Down the Framing

Measure the new height from the floor. Standard counter height is about 36 inches. Use a level to draw a straight line across each stud you need to shorten. Mark carefully so your cuts stay even.
Then use a circular saw or handsaw to trim the vertical framing pieces. Once everything is trimmed, double-check that your surface is level across the top. This makes it easier when you install the new counter.
Step 5: Reframe and Refinish
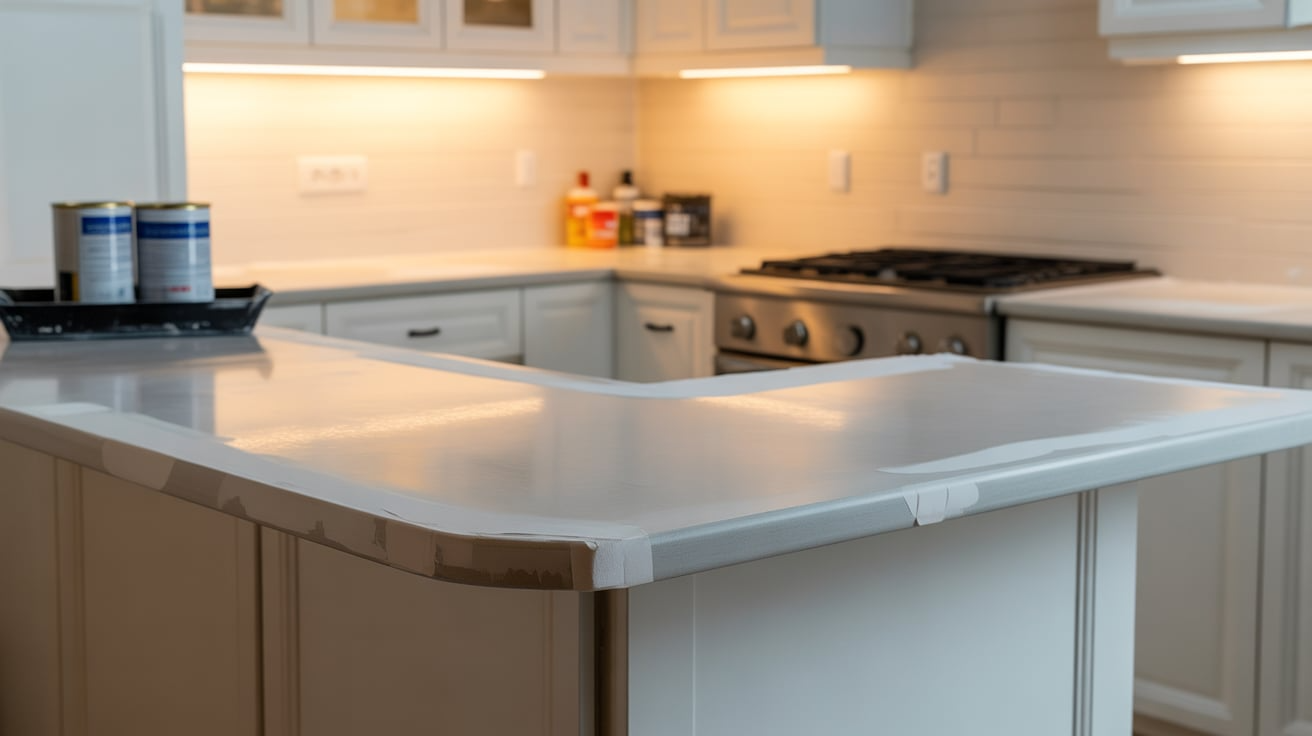
After the framing is adjusted, reattach any pieces you removed earlier. If you’re adding new supports, make sure they’re flush and secure. Cut new drywall to fit the opening and screw it into place.
Use joint compound to cover seams and screw holes. Let it dry fully, then sand it down until smooth. Finish with primer and paint that match the rest of your wall. This helps the lowered bar blend in and look finished once it’s done.
See the full process in the YouTube video:
Lowering Breakfast Bar to Counter Height: Before and After Results
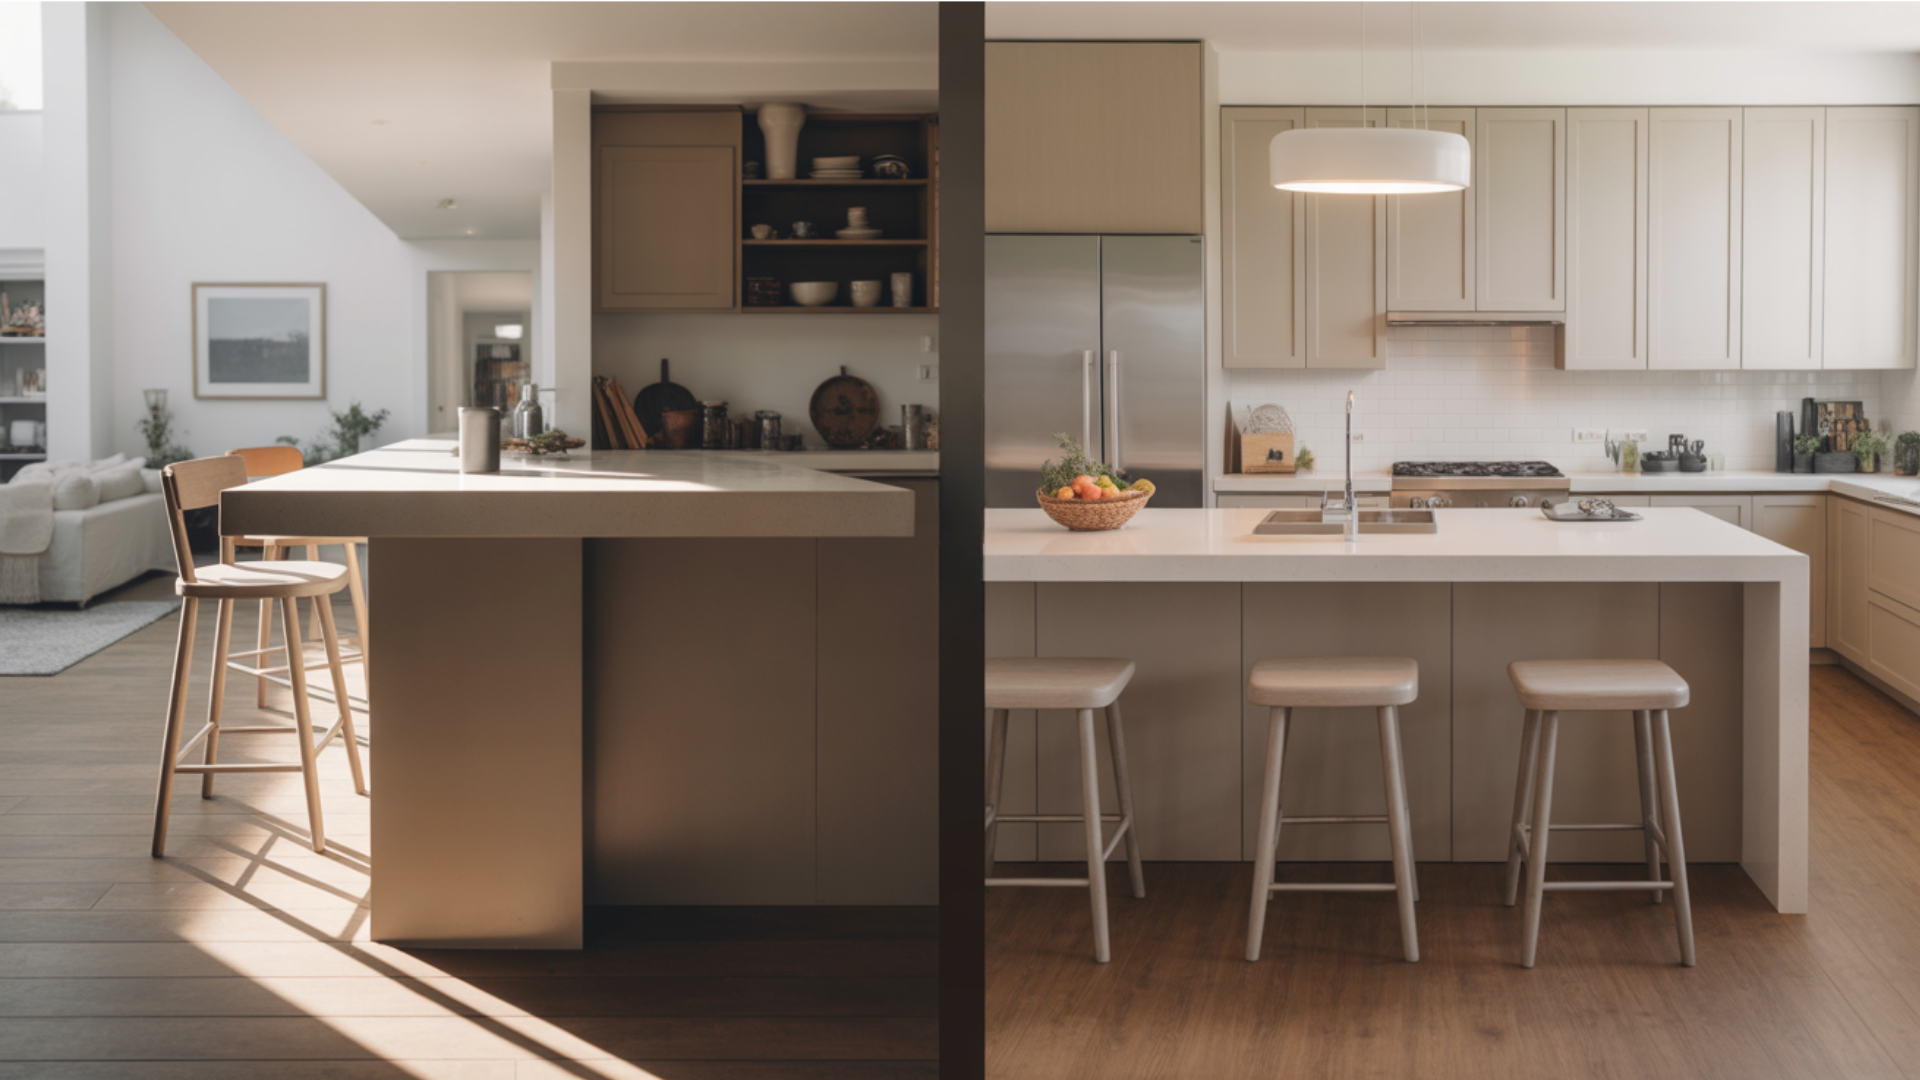
Start by looking at real-life examples to get a clear idea of what’s possible. In smaller kitchens, lowering a raised breakfast bar often makes the space feel brighter and less cramped.
In open-concept layouts, it helps create a smooth, continuous line that connects the kitchen with the rest of the room.
Take time to study before-and-after photos of similar projects. Pay attention to how the space opens up, how the light spreads more evenly, and how the overall layout feels more natural.
Seeing the difference side by side can really help you picture the impact in your own home and decide if this change fits your style and needs.
How Much Does It Cost to Lower a Breakfast Bar?
Before picking up tools or calling a contractor, it helps to know what the project might cost. The price can vary depending on how much of the work you plan to do yourself and what materials you already have.
Here’s a simple breakdown to help you plan your budget and decide what’s right for your situation.
1. DIY Approach
If you choose to undertake the project yourself, expenses typically include basic tools and building supplies such as screws, drywall, and paint.Costs can range from approximately $100 to $300, depending on what materials and tools you already have on hand.
For instance, in a documented DIY project, the homeowner managed to lower their breakfast bar by reusing existing materials and performing the work themselves, which significantly reduced costs.
2. Hiring a Professional
Opting to hire a contractor will increase the overall cost.Professional fees can vary widely based on location, the complexity of the job, and the contractor’s rates.
While specific figures are not provided in the sources, it’s reasonable to anticipate higher expenses due to labor and potential additional materials.
3. Cost-Saving Tips
- Reuse Materials:If possible, reuse existing trim or other materials to cut down on expenses.
- Borrow Tools:Instead of purchasing new tools, consider borrowing or renting them.
- Plan Ahead:Careful planning can prevent unexpected costs and ensure efficient use of resources.
By carefully assessing your needs and resources, you can choose the most cost-effective approach to lowering your breakfast bar.
Common Mistakes to Avoid
Even simple projects can lead to problems if you’re not careful. Before you start, it helps to know what others often overlook. These quick tips can help you avoid extra work, wasted materials, or safety issues.
- Forgetting to check if the wall is load-bearing before cutting into it
- Rushing the job and making uneven cuts or messy seams
- Measuring once instead of double-checking your lines
- Reusing damaged wood, trim, or drywall that may not hold up well later
- Skipping safety steps like turning off the power near outlets
Taking a little extra time to plan can save you hours of fixing things later on. Keep these points in mind to stay on track.
Conclusion
You’ve now seen how this type of project comes together from prep to finishing touches. Each section provided you with something clear and useful, such as planning costs, selecting materials, or performing the work.
If you’ve been unsure about where to begin, this should help you feel more confident. I know that changing part of your kitchen can feel like a big decision, but you don’t have to do it all at once. Just take one step at a time.
If you liked this, take a look at our other posts for more simple ideas and step-by-step tips on kitchen updates and DIY projects.